Adding and customizing images in a design is easy in Inbranded.
Adding image to a design
Follow the steps below to add text to your design:
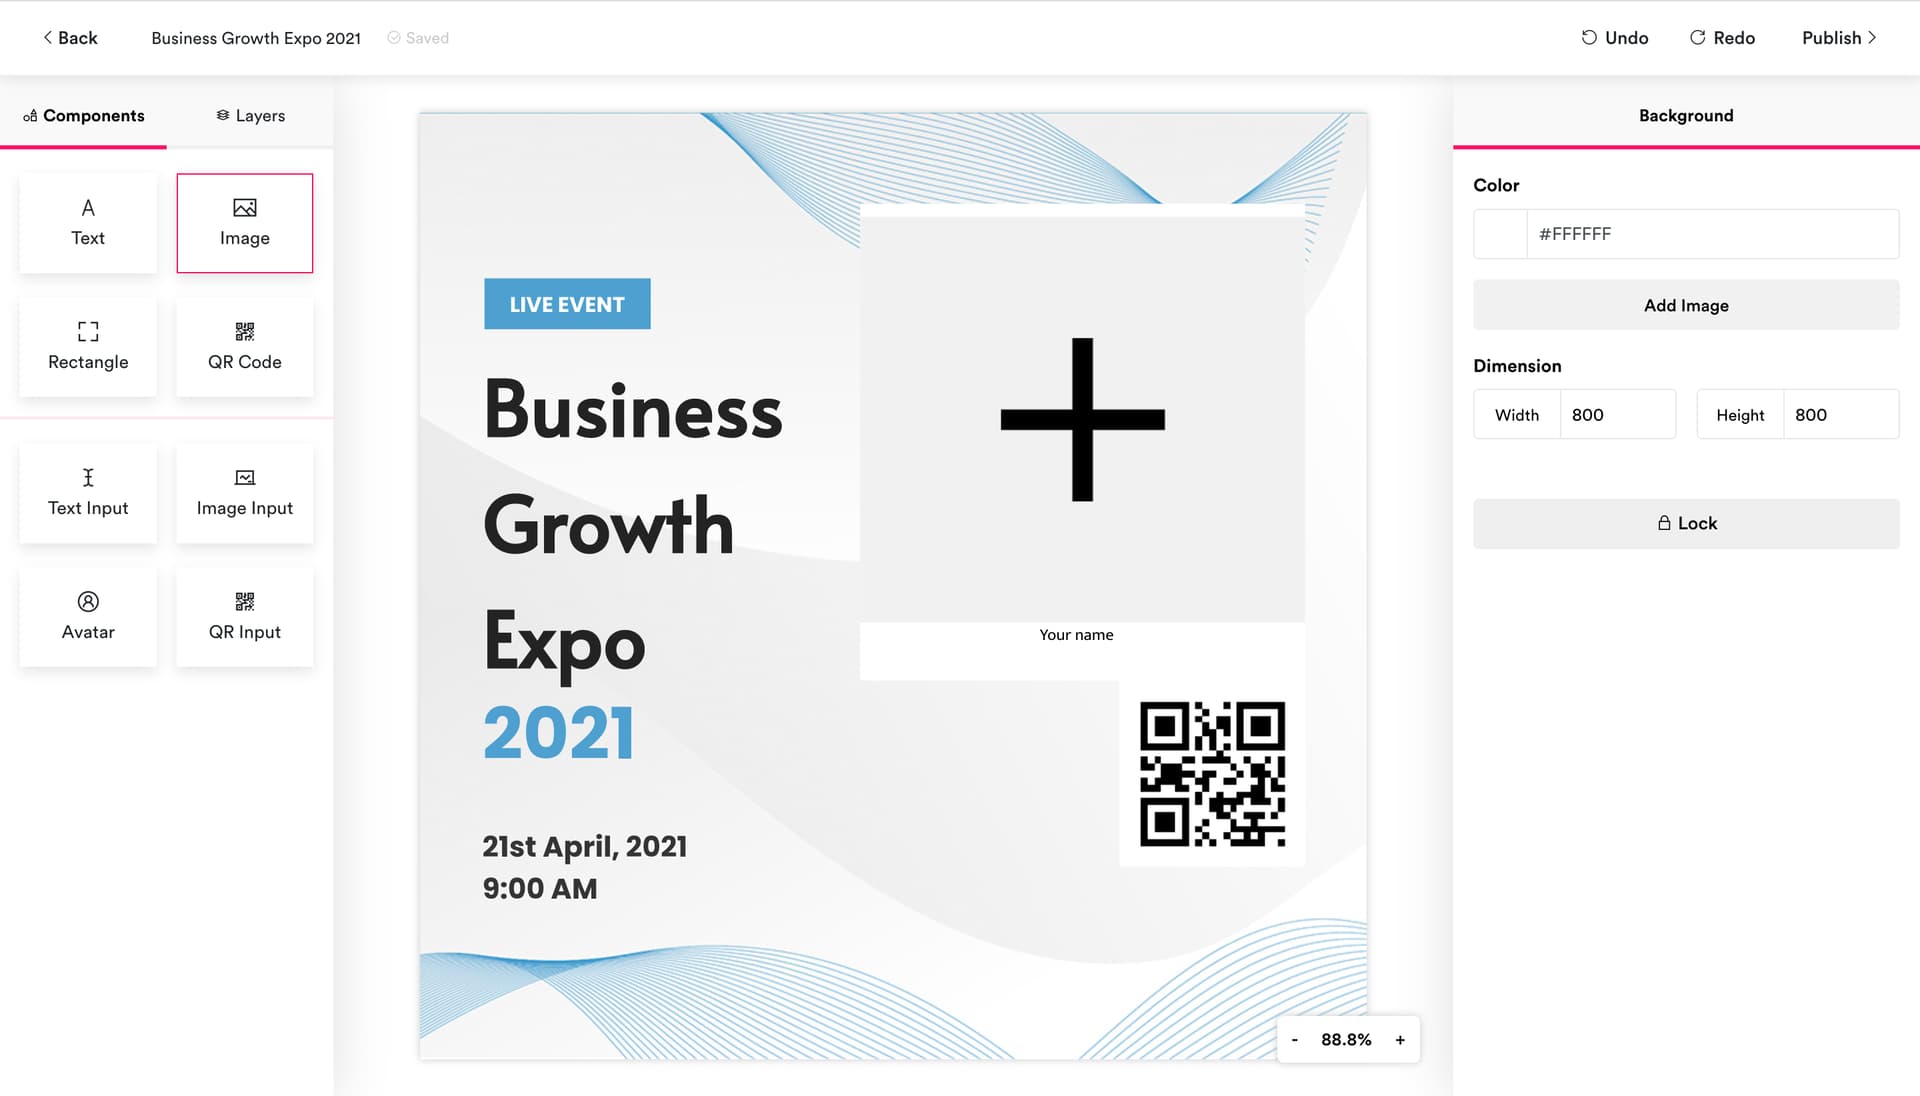
Step 1: Locate the components panel on the left side of the design builder and click on Image.
Step 2: Choose the image/upload a new image in the popup that appears.
Step 3: Click on Continue to have the selected image added to the design.
Note: The image added would automatically be the focused component in the design.
Customizing image in a design
Follow the steps below to customise texts in your design:
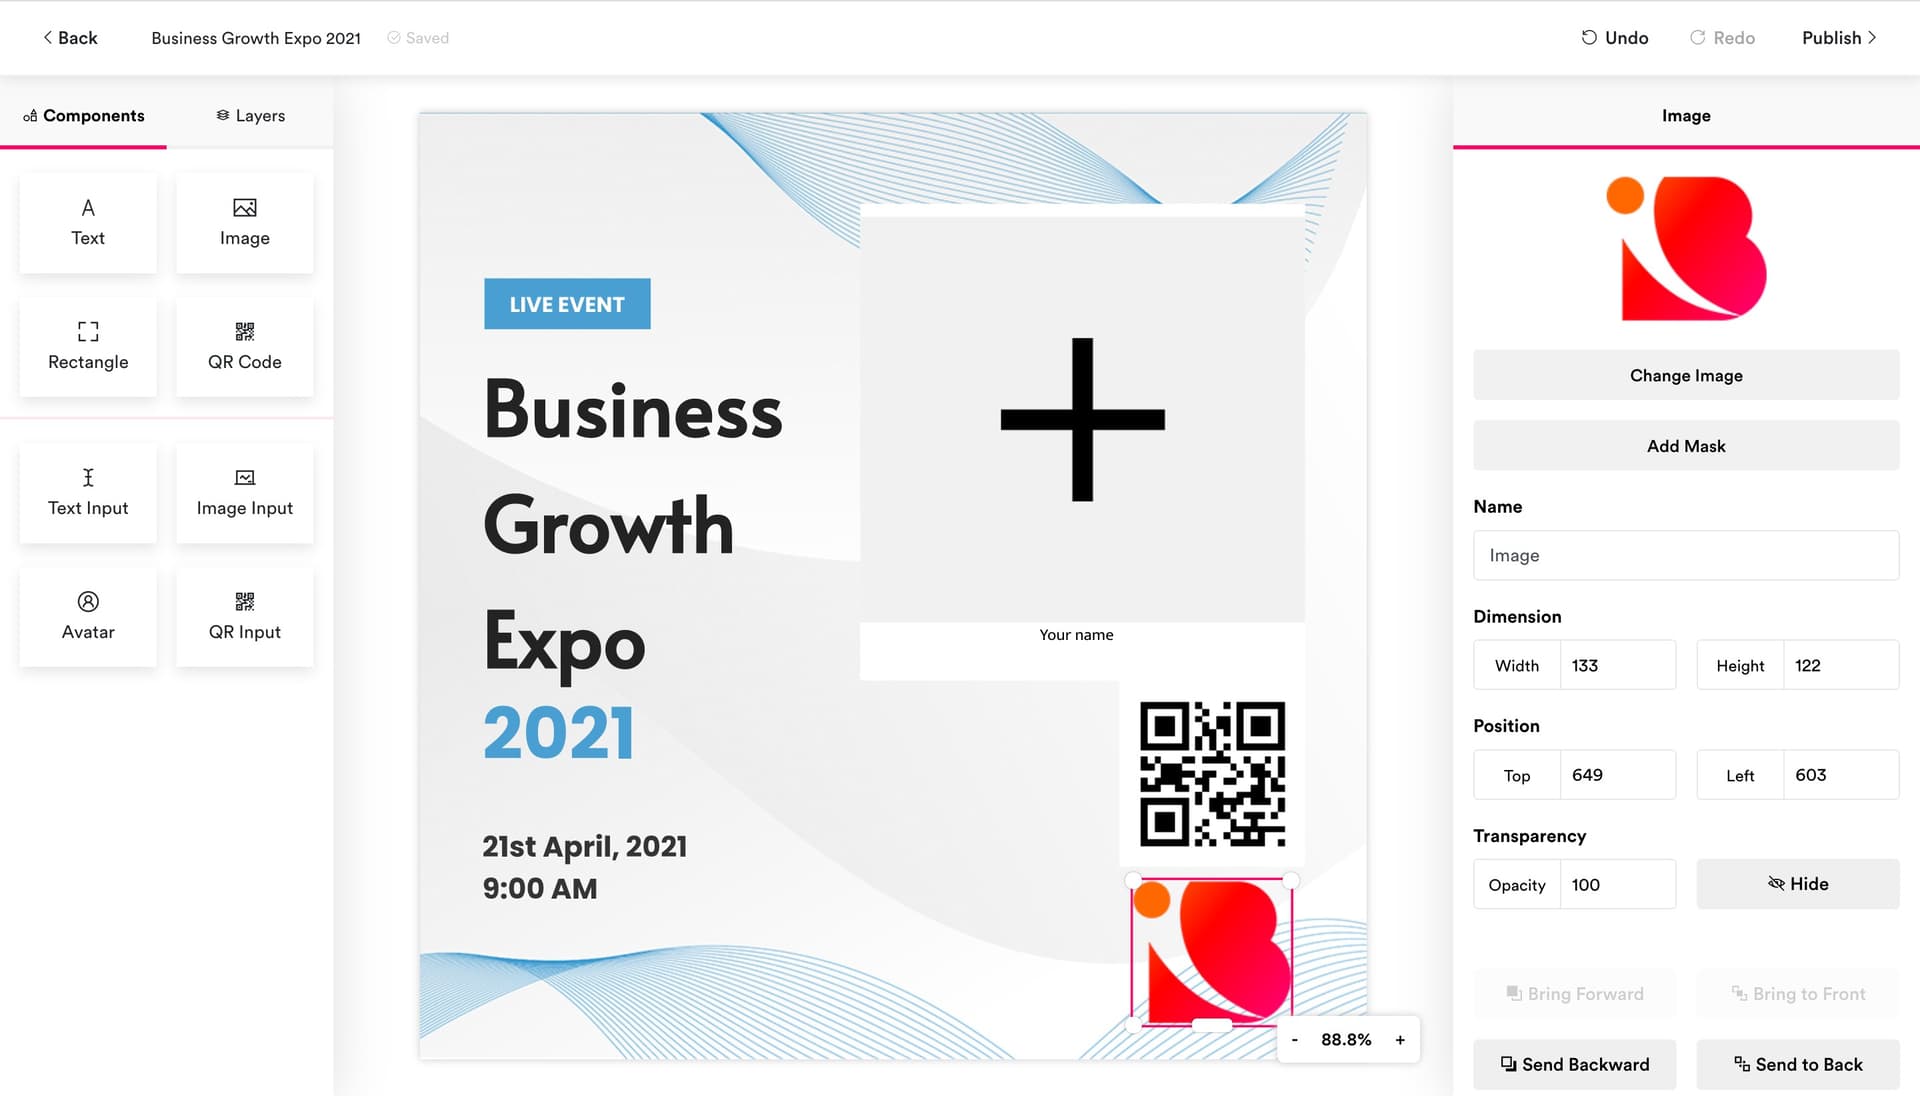
Step 1: Locate the image in the design area and click on it to have it focused.
Step 2: From the preference panel, click on Change Image to change the image of the component.
Step 3: From the preference panel, click on Add Mask to apply a mask to the image.
Step 4: Also from the preference panel, change the Width and Height to change the image dimension.
Step 5: Drag anywhere within the highlighted component box to reposition it in the design. Drag the knobs at the edges of the component box to resize the image.
Note: Updating an image’s dimension will scale the image based on its aspect ratio.